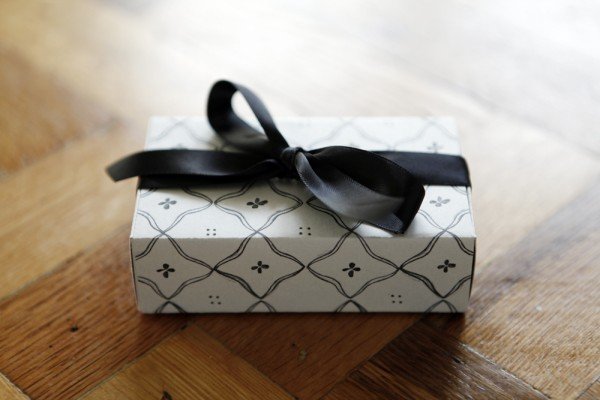
A DIY gift box
Today’s tutorial was created by the talented Alana of Humunuku. These boxes would make mighty cute favors filled with chocolates.

If you don’t fancy yourself much of a paper folding artist but still want to give it a shot, you’re in luck because boxes are one of the easiest items to fold and I’ve even created a template for you to print right on out.
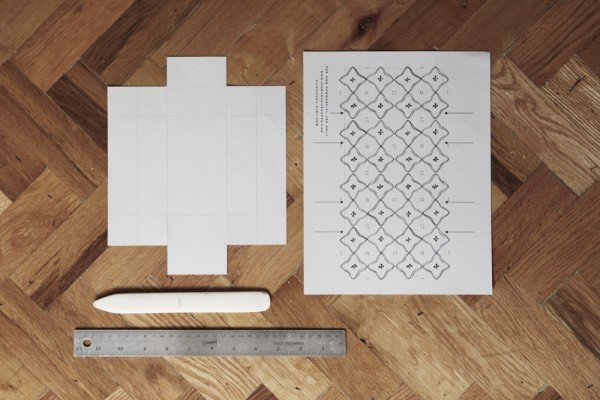
To make your own, you’ll need:
– Box template
– 2 Sheets of Card Stock (any color, I used grey)
– A printer
– Bone folder or something to score
– Scissors or Blade
– Glue Stick

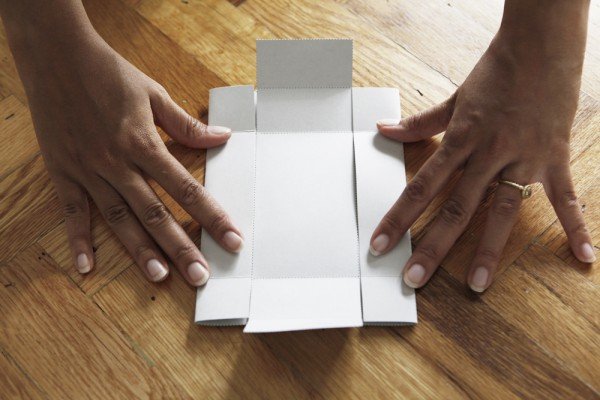
Step one: Score fold lines on top of box, using arrows as guidelines. Then cut around dotted line. Put aside.
Step two: Cut bottom of box template out. Score all of the dotted lines. Still on bottom of box, make four cuts along dotted lines where it says “cut” (note, cut instructions not pictures, but it is in the pdf).
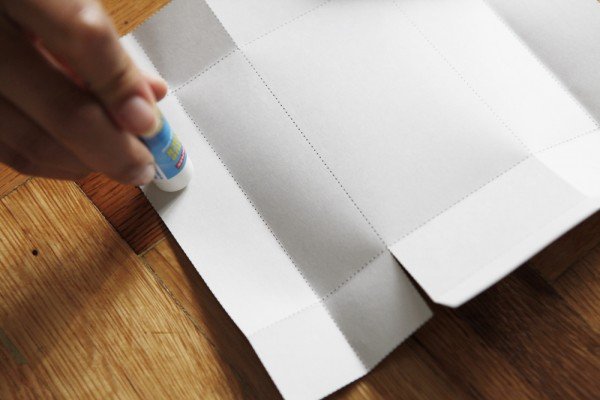
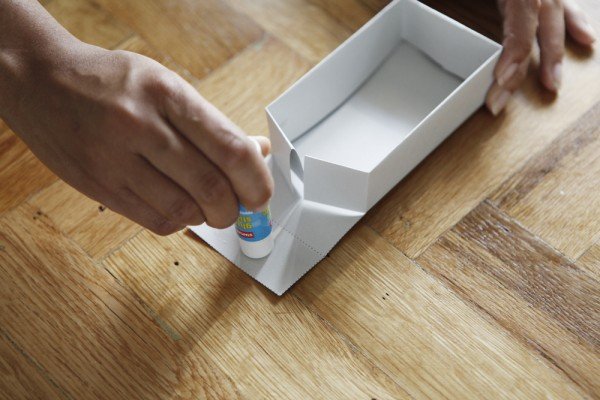
Step three: Fold and glue long side of box up first. Fold and glue shorter sides of box to fold over flap ends of long sides.
Step four: Using your eye, fold top of box pattern to shape, so it will fit when you slide it on the the bottom box. Glue just the top box closed.
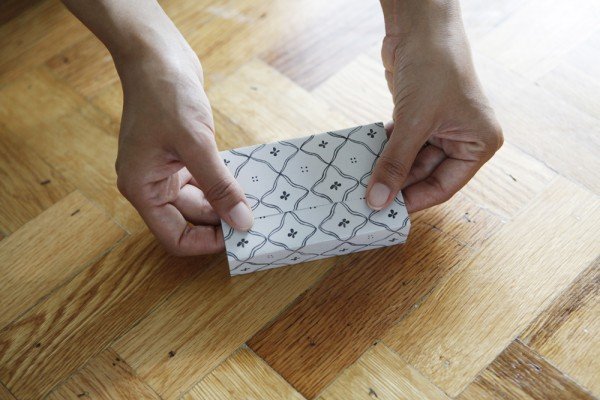
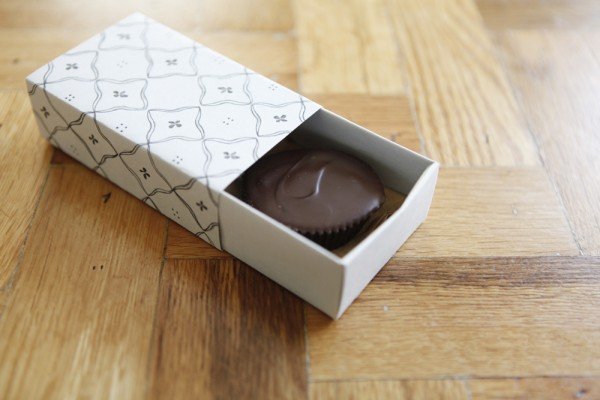
Step five: Slide top of box onto the bottom. Should fit snugly. Fill it with whatever goodies you want. I made dark chocolate peanut butter cups!